DIY Devices - Virtualisation
2021-07-20 DIY devices Virtualisation
I started a new job in 2016 where I was now using enterprise network servers more - and on a more Unixy stack than my previous Microsoft one. I frequently needed to run virtual servers for development. It was possible to do on my work laptop but that only had 8gb RAM. I was also tinkering with other services and Linux distros in my spare time and it was a pain to do on a Raspberry Pi. So I decided to purchase a Celeron NUC 5CPYH and run ESXi on it.
It turns out I should have done more research as it didn't work very well. In fact, it didn't work at all to start with. It was only once I found the amazing Florian Grehl and some custom powershell magic that I managed to get it going. This helped my work directly, and let me ease into the world of virtualisation.
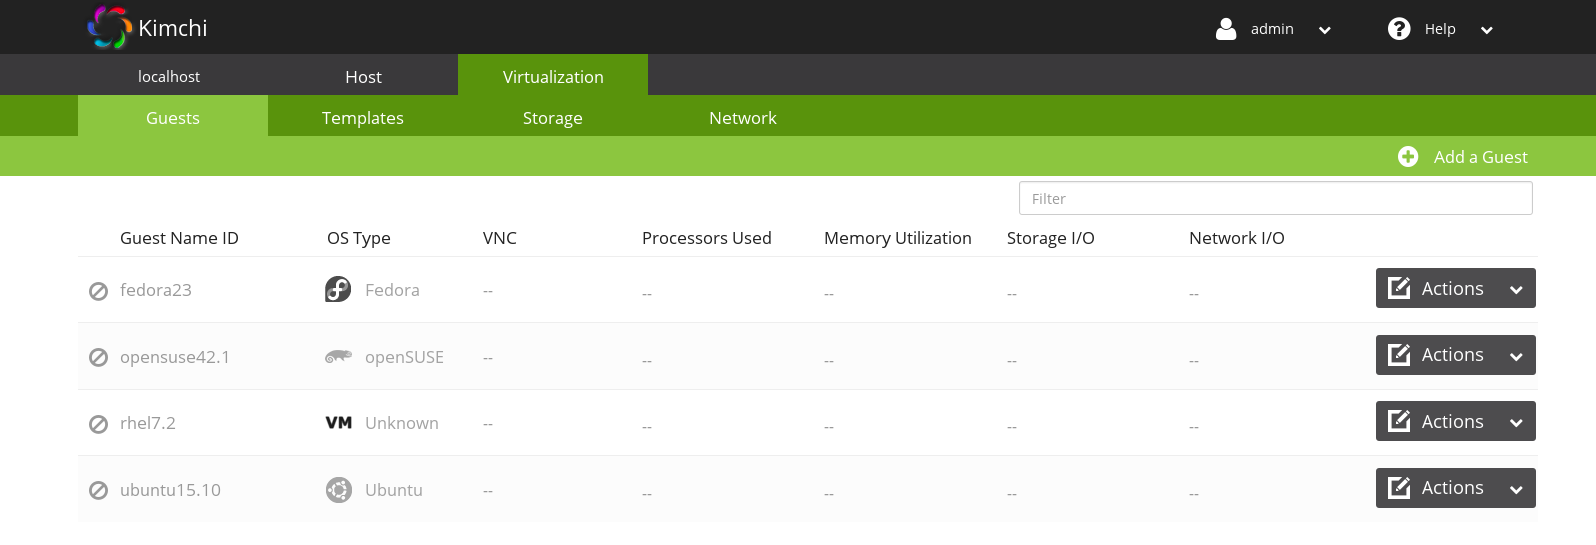
After maybe a year, though, I found ESXi a bit too "fixed". It wasn't easy to upgrade it or keep it patched. And it was closed. I researched alternatives and attempted to use Proxmox - for some reason I can't remember, though, it just wouldn't work. Then, in my Ubuntu phase, I went with QEMU / KVM and used kimchi as a UI. I got moderately handy at migrating VMs over and configuring VMs with sparse disks - but I never really loved it. And this was all running on a Celeron NUC which was a bit slow.
Then my media center caught fire and a couple of months later I had reconditioned it. An Intel I5 4690S - it's not the fastest CPU in the world but even today, in 2021, it's pretty respectable - is way faster than the Celeron NUC. I purchased more RAM for it and decided it would be my VM Hypervisor. The only thing was it was running OEM Windows upgraded to Windows 10 and I was reluctant to throw away the license. It dawned on me, though, that Microsoft has its own Hypervisor - Hyper-V and it's bundled with Windows 10. It's not open (like ESXi) but it does get seamlessly updated (unlike ESXi). So I decided to give it a go.
It was good. I managed to transfer the VMs over using commands like:
qemu-img convert -f qcow2 “SourceDisk.img” -O vhdx -o subformat=dynamic “Destination.vhdx”It was even better (and faster) once I changed the system disk to an SSD. It now plays host to:
- Unifi Wireless LAN Controller
- HomeAssistant
- A docker server
- Various transient VMs for experiments / development
- A VPN endpoint
- An internal web and automation server
- A Windows sandbox
Theoretically, I could use my upgraded NAS to do all this with QEMU, but I like the separation - like having HiFi separates (because I still think it's the 90's). And I must confess, for all my "I'm going to have a CLI based NAS" I rather like the simplicity of a hypervisor GUI. This solution obviously won't be for everyone, but it works for me. The fact that it's Windows also gives me a useful way of running Microsoft apps since I moved to a Mac for my main laptop. That's another story though.
- Next: DIY Devices - The VPN
- Previous: DIY Devices - Media Centre